Tutorial: Dolman Sleeves - How to Tweak Your Pattern to Make Hemming a Breeze
Dolman sleeves are an easy-sew option when you want more coverage than a sleeveless dress or top without the added time and effort of sewing set-in sleeves.
This sleeve type is a feature of both the girl's and women's Pearlie Dress & Peplum Top PDF Sewing Patterns.
Some of you have mentioned that you find it tricky to turn and hem the sleeves when sewing your Pearlies, especially at the base of the armhole.
If this is your least favourite step (and especially if you are working with a type of fabric that doesn’t allow you to manipulate the area easily) you should definitely give this method a go!
In this tutorial, I’ve used a regular machine set on a stretch stitch to sew the side seams of the Bodice. The tight corner would make it hard to sew with an overlocker/serger but you could instead finish each side of the Bodice Front & Back with a zig-zag or overcasting stitch on your regular machine before sewing them together. The shoulder seams, skirt seams and neckband can, of course, be finished with an overlocker/serger as usual.
Also, note that the pattern instructions (for the original gathered skirt Pearlie) have you attaching the Skirt Front & Back to the Bodice Front & Back before sewing the side seams. But in this example, having already sewn the Bodice side seams, I’m going to attach the skirt in the round.
(Note: if using the circle skirt add-ons for the Pearlie Dress or Top you would, as per the instructions, be attaching the skirt in the round.)
Step 1: MODIFY THE BODICE PATTERN PIECES
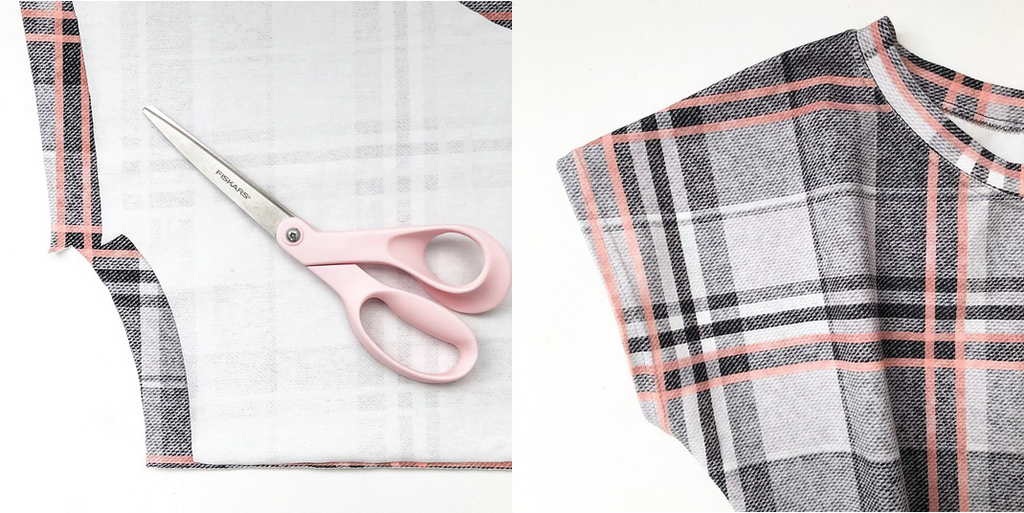
The Bodice pattern pieces have you cutting the hem allowance horizontally out from the base of the armhole in a straight line. Instead of cutting them in that way, “mirror” the shape at the top of the side seam where it intersects with the armhole in a downward facing “v”. You will need to go 1cm (3/8”) down from the intersection. It would be best to do this by tracing off your pattern pieces with the revised shape and using it as your new template rather than just eye-balling it while cutting!
Step 2: SEW SHOULDER SEAMS & SIDE SEAMS
Sew the shoulder seams, finish seam and press.
Sew the side seams using the stretch stitch on your machine. (You could mark the stitch lines with a soluble marker to help with accuracy).
Use some sharp scissors to make a small snip half way into the corner of armhole where the stitch direction changes. Press seams out.
Step 3: PRESS SEAM ALLOWANCE
Press armhole hem all the way around. The photos shows you what it looks like from the inside.
Step 4: TRIM EXCESS
You can snip off the little bits of excess fabric that peep out from under the hem if you wish.
Step 5: READY FOR HEMMING!
You can see that the armhole hem allowance is sitting nicely even before stitching. This was our goal here, so YAAY!
Your armholes are ready for hemming in your preferred way using a single or twin needle or zig-zag stitch.


