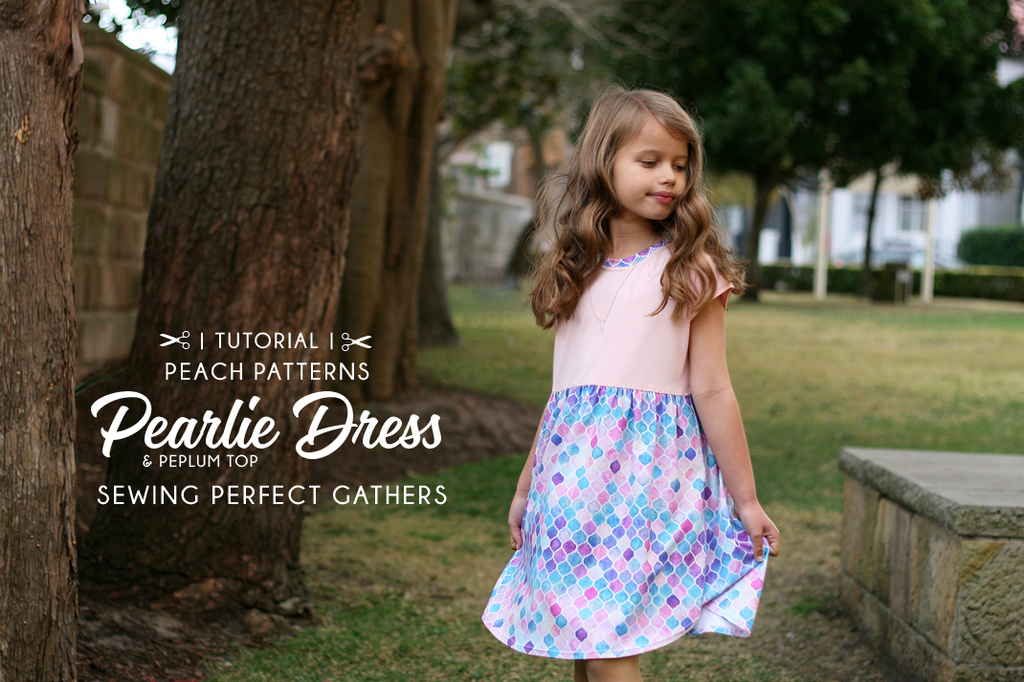
Sewing perfect gathers between the bodice and skirt on your Pearlie Dress or Peplum Top isn't hard and will give your finished dress a truly professional edge. There are several ways to get nice even gathers when sewing knit fabrics but the one we use in the pattern is a real "game changer" (I'm quoting the Pearlie pattern testers here!).
This method is also an especially good confidence booster if you're new to sewing with knits because it's simple and has such great results.
**** Haven't got your Pearlie Dress pattern yet? Hop over to One Thimble and grab a copy either as a standalone pattern or, better still, as a package with the other great patterns in One Thimble Issue 16. For more inspiration and to see all the amazing Pearlies that have been posted by our lovely customers, join the Peach Patterns Sewing Group and One Thimble Sewing Enthusiasts group on Facebook. ****


This tutorial outlines the very first steps you will take to sew your Pearlie Dress or Peplum after cutting your fabric pieces. Taking a bit of extra time and care here will set you up for success with the rest of your sewing.
NOTE: There are two bodice and neckband options in the Pearlie Dress pattern and for this version I used the "relaxed fit" bodice and the "standard" neckband. The dress was made in a straight Size 8 and the fabric details and links are at the end of the tutorial.
SO, let's get started:
ASSEMBLE YOUR SUPPLIES
The things you'll need are a stretch needle, your regular thread, some shirring elastic and an empty bobbin case.
Insert the stretch needle into your sewing machine shank and thread it with your regular thread. Take the empty bobbin and wind your shirring elastic around it by hand until the bobbin is full. The idea here is to wind the elastic on firmly but without stretching it too much. Load the bobbin with your shirring elastic into the bobbin case as you would with regular thread.

SEW YOUR GATHERING STITCHES
Set your machine to the longest stitch length. On the right side of your SKIRT FRONT and BACK pieces sew a row of stitching just under the top raw edge. (Make sure you start (and finish) sewing just over 1cm (3/8") in from the side seams (as marked on the pattern pieces). This will ensure the seam allowances at each side of the dress are free of gathers. And yipeee (!) you'll notice the fabric will begin to gather a bit as you sew. The real magic starts, though, when you sew another row of stitching just under the first one. Hold the fabric as flat as possible without stretching it too much and sew completely parallel to your first row. Your fabric will gather up nicely - step back to admire!
Here are some front and back views of your fabric after this step:


Your shirring elastic will most likely have done the trick to reduce the width of your skirt pieces to match the width of your bodices. You can check this by laying the pieces parallel as in the photo below. If they're still too wide, however, simply lay the skirt pieces on your ironing board and give the gathers a few shots of steam while holding the iron just above the fabric (don't press the actual fabric).


FIND THE CENTRE POINT OF BODICE & SKIRT PIECES
Fold your BODICE and SKIRT pieces in half and mark the centre of each with a pin as shown in the photo below.

SEW BODICE and SKIRT PIECES TOGETHER
A little word of caution here so you don't do what *someone I know* (ahem) once did whilst sewing her Pearlie Dress i.e. sew the BODICE FRONT and SKIRT BACK together. The SKIRT BACK is the longer of the two skirt pieces and needs to be matched with its partner, the BODICE BACK.
Taking your SKIRTS and BODICES, match the centre points marked by your pins and aligning the raw edges, pin your pieces right sides together. I use LOTS of pins and remove them as I sew!
(You will notice (as the photo below shows) that the bodice fabric has a tendency to bunch up when it's pinned to the skirt. Because of this you need to take extra care when sewing over your gathers to keep smoothing out the layer of (bodice) fabric underneath. If the bodice fabric does double over and get caught in the stitch line, there's no need to unpick the whole seam: simply unpick and re-sew the affected area.)

Sew your skirt and bodice pieces together just under the second row of gathering stitches. For the sake of precision I use a regular machine to do this step and then finish the seam with my overlocker (serger) afterwards.
Sewing machine:

Overlocker (Serger):

PRESS SEAM UPWARDS
And that's really all there is to it! After a quick steam and press with your iron (lay fabric wrong side up and press seam upwards with tip of iron), you have gorgeous gathers and (after doing a little happy dance!) can go on to sew the rest of your Pearlie Dress.


The knit fabrics used for this Pearlie Dress are Art Gallery Solids in Crystal Pink from Bebeloush Designs for the bodice and Rainbow Pastel Watercolor Moroccan by Micklyn on Spoonflower for the skirt. (I chose the Spoonflower Cotton Spandex Jersey as my base fabric for this print).
Don't forget to grab your copy of the Pearlie Dress sewing pattern over at One Thimble!

Stay in the Peach Patterns loop and:
Follow my blog with Bloglovin
(This post contains affiliate links.)


